Der Beitrag E-invoicing Tools: How Self-Service Connectors Reduce Setup Struggles erschien zuerst auf ecosio.
]]>- Self-service connectors allow suppliers to configure their own e-invoicing connection without relying on technical teams, speeding up onboarding
- These tools reduce setup struggles by automating processes, minimising manual intervention, and providing guided configuration steps
- Benefits include faster supplier activation, fewer errors during setup, and lower demands on internal resources
- Self-service connectors support multiple document formats and transmission protocols, enabling flexible integration with various customer requirements
Many businesses today are prioritising digitisation, driven both by the need to boost internal efficiency and the pressure to comply with a growing number of e-invoicing regulations. Although digitisation offers advantages such as greater accuracy, setting up certain e-invoicing tools – specifically protocol connectors (the digital pipelines that transmit, validate, and deliver invoices across platforms and tax authorities) – can be a complicated process, and one that often results in delays, inefficiencies, and increased operational risk.
Why are protocol connectors crucial e-invoicing tools?
E-invoicing protocol connectors are technical integrations that allow invoice data to be exchanged between systems in a compliant, secure, and automated way. They are the linchpins of the e-invoicing process, especially in countries adopting continuous transaction control (CTC) models, where real-time or near-real-time validation by tax authorities is mandatory.
Without properly configured connectors, the e-invoicing workflow breaks down. These connectors help in tasks such as authenticating credentials and then transmitting data to and from intermediaries or government platforms. They are essential for ensuring that an invoice reaches its destination in a compliant form.
What does a typical e-invoicing flow look like?
To appreciate the critical role of protocol connectors in global e-invoicing, it’s essential to understand how an invoice travels through the system in countries employing a CTC clearance and centralised model, such as Poland, Romania, and Hungary. These frameworks mandate a highly structured, real-time exchange of invoice data between suppliers, intermediaries, tax authorities, and buyers.
- Step 1: Invoice creation in the ERP system
The process begins with the supplier generating an invoice within their ERP or financial software. At this stage, compliance with local tax codes, field-level requirements, and document formatting is essential. While the invoice exists digitally, it is not yet compliant until it has been validated by national authorities – a step that hinges on subsequent data transmission enabled by protocol connectors.
- Step 2: Transmission to the integration platform (via ERP connectors)
Rather than submitting the invoice directly to the government platform, it is passed to an integration layer, such as ecosio’s managed service. Here, protocol connectors perform several critical technical functions:
- Authentication: Confirming the identity and authority of the sending party
- Data transformation: Converting the invoice from ERP-native formats to the schema required by the specific national platform (e.g., XML for KSeF or ANAF)
- Secure transport: Managing communication protocols such as AS4, REST API, or SFTP to ensure encrypted, tamper-proof data exchange
The connector acts as a real-time translator, courier, and gatekeeper, ensuring the invoice is properly prepped and transmitted under the right parameters.
- Step 3: Submission to the government platform via an authorised intermediary
Once formatted and packaged, the invoice is submitted to the centralised tax authority system through an intermediary explicitly authorised by the supplier. This intermediary may be a third party or, in many cases, the integration platform provider itself. The protocol connector remains active in this step, managing session handling, error feedback loops, and ensuring message integrity.
Government systems such as Romania’s ANAF, Poland’s KSeF, and Hungary’s NAV require exacting standards for submission. The protocol connector ensures these standards are met, right down to the required headers, tokens, and cryptographic signatures.
- Step 4: Validation or clearance by the tax authority
Upon successful receipt, the invoice undergoes validation by the tax authority. This may include syntax checks, VAT ID verification, or structural conformity with local compliance rules. Depending on the CTC model, the authority may also assign a clearance ID, signature hash, or digital stamp.
While this validation happens outside the connector, the connector is responsible for relaying clearance statuses and official metadata back to the sender or onward to the buyer. It ensures that the feedback loop is uninterrupted and properly logged—often integrating directly into the ERP to reflect updated document statuses.
- Step 5: Invoice delivery to the buyer
After clearance, the approved invoice is delivered to the buyer. Delivery may be executed by the tax authority or relayed back through the integration platform. In some jurisdictions, the invoice will carry government-issued metadata, such as clearance stamps or timestamps, indicating successful processing.
Once again, the protocol connector ensures the invoice and any additional compliance artifacts (such as clearance codes or timestamps) are securely delivered to the appropriate recipient system – be it another ERP, archive system, or downstream accounting tool.
The strategic role of protocol connectors in CTC compliance
Across every stage of the CTC e-invoicing lifecycle, protocol connectors act as the central nervous system. They do more than just “connect systems”…
- They actively enforce technical compliance, provide traceability, and reduce the risk of failed transactions
- They bridge complex systems and national platforms with real-time adaptability
- They minimise manual intervention, making compliance repeatable and scalable
- They enable auditable, secure communication channels aligned with national and international data security standards
In CTC environments, where delays, rejections, or invalid formats can result in regulatory penalties or revenue disruption, a well-implemented protocol connector isn’t just helpful; it’s essential.
Common connector issues
Delays
For example, a delay in invoice clearance due to improperly mapped XML fields can cause significant disruption to the order-to-cash cycle, particularly in just-in-time supply chains where payment triggers are tightly linked to invoice approval.
Rejections
A rejection stemming from missing authentication tokens can require manual intervention and resubmission, leading to bottlenecks.
Compliance breach
A compliance breach, such as failure to include mandatory tax identification elements, can not only halt invoice processing, but also expose the business to fines, audits, and reputational damage.
Challenges for enterprises
Challenges for business users: lost in translation
For business users, protocol connectors often feel like a technical black box. They know that successful setup is essential to meet compliance requirements and enable invoice automation, yet they rarely understand the technical details.
This lack of visibility leads to a range of challenges, including:
- Knowledge gaps: Most business users aren’t familiar with protocols like AS4, SFTP, or REST APIs, which are often required to establish secure, real-time connections with tax authorities or intermediaries.
- Manual communication: Historically, the exchange of sensitive setup details (like endpoint URLs, certificates, or authentication credentials) has taken place via insecure, manual methods such as email or internal chat. This not only slows down implementation but also increases the risk of errors and data breaches.
- Dependency on IT or external vendors: Without a self-service option, business teams are entirely reliant on technical staff or third-party providers, which can easily lead to delays, miscommunication, and unnecessary costs.
Challenges for technical users: missing the business context
On the other hand, while technical users may be well-versed in API integrations or ERP configuration, that doesn’t mean they’re equipped to handle e-invoicing protocol connectors. For technical users, the challenge lies not in technical execution, but in understanding what needs to be implemented for compliance in each specific country.
Key pain points include:
- Unclear or incomplete requirements: Different countries have vastly different rules and formats for e-invoicing, often buried in hard-to-navigate government websites or fragmented documentation.
- Lack of end-to-end guidance: Without clear, actionable steps tied to each country’s compliance model, IT teams are left piecing together information, risking missteps that can delay or derail deployment.
- Cross-functional bottlenecks: IT often needs input from finance or legal teams to ensure proper invoice content or tax requirements, creating organisational friction and slowing down projects.
Complexity multiplier: navigating CTC model requirements
The global shift towards Continuous Transaction Controls (CTC) is intensifying the pressure created by the surge of e-invoicing mandates. In CTC models, invoice data must be sent to and validated by a tax authority before it reaches the buyer. This introduces a real-time compliance requirement, making robust and accurate protocol integration essential.
Countries such as Romania (RO e-Factura), Poland (KSeF), and Malaysia (MyInvois) already mandate or plan to mandate CTC frameworks. These systems require:
- Precise, secure API connections with central government platforms
- Automated credential handling using government-issued tokens or digital certificates
- Detailed format mapping to ensure the invoice conforms to national standards (often XML-based)
For multinational enterprises, this means managing multiple, often inconsistent connection protocols across countries, which can overwhelm even experienced technical teams.
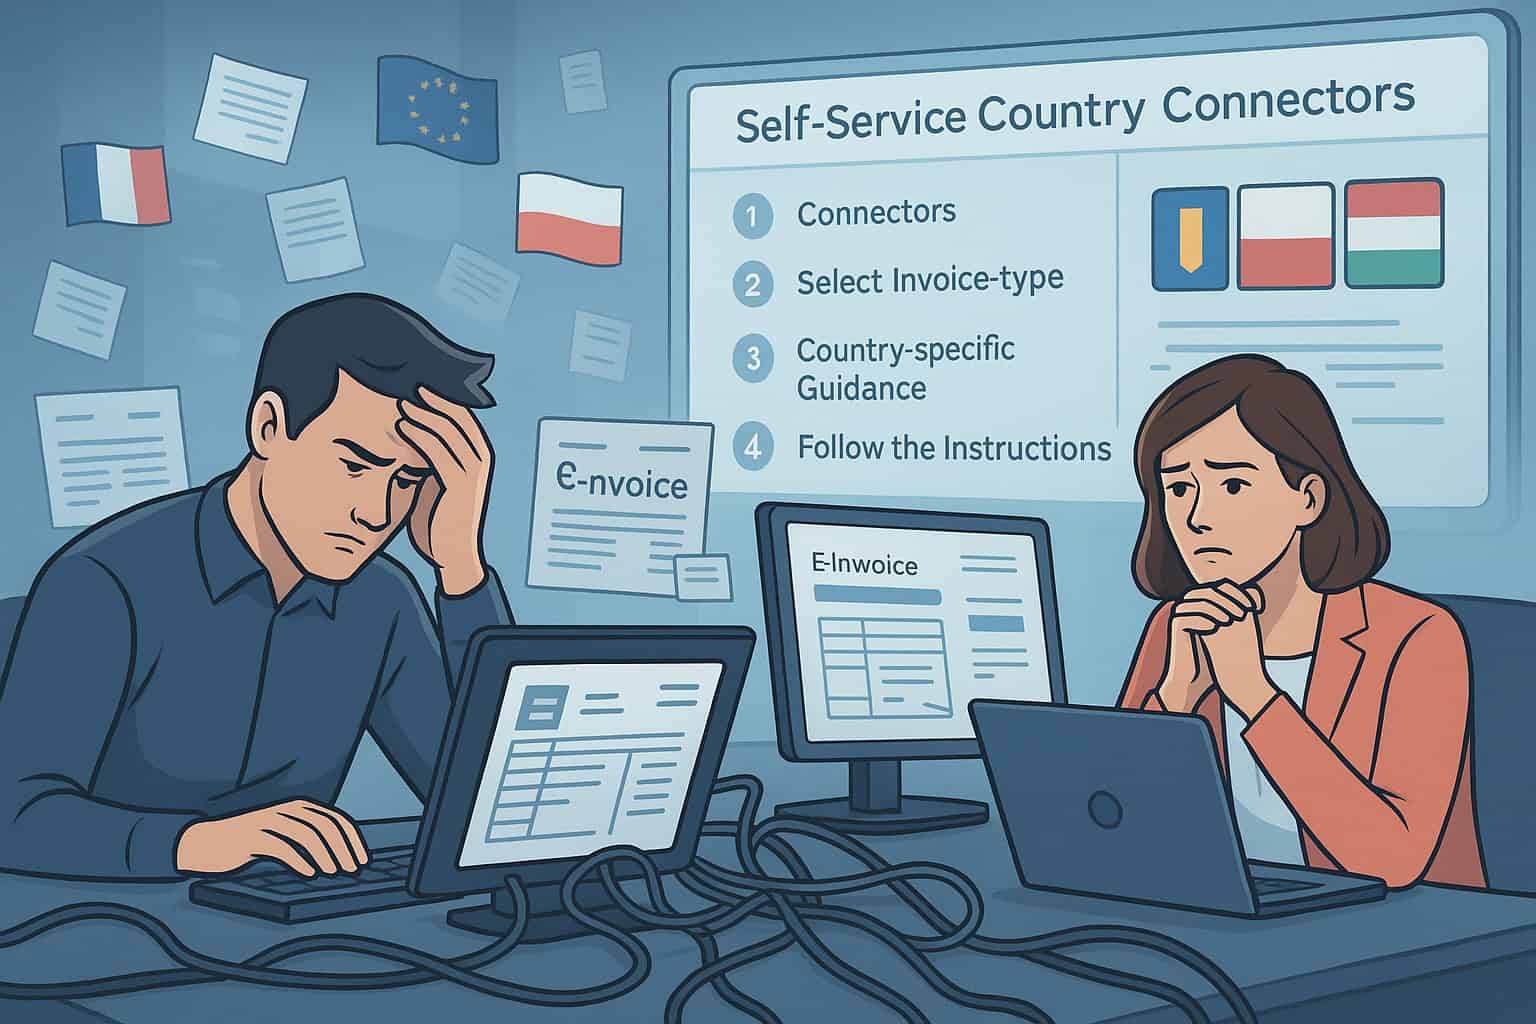
The ecosio solution: self-service country connectors
To address these issues, ecosio has introduced e-invoicing tools purpose-built for real-world challenges: self-service country connectors. These connectors offer structured, guided support within the ecosio Monitor, making it easier for both technical and business users to establish efficient and reliable e-invoicing connections with selected countries.
What sets ecosio’s approach apart:
- User-friendly design tailored to both tech-savvy users and business stakeholders
- Step-by-step country-specific guidance with screenshots and checklists carefully tailored by our e-invoicing specialist team
- Pre-validated connection points that streamline integration and minimise trial-and-error
Whether you’re onboarding to Romania’s ANAF system, Poland’s KSeF, or Hungary’s NAV (the countries where ecosio’s Self Service connectors are already available), the goal is the same: reduce friction, boost confidence, and accelerate your compliance journey.
ecosio’s self-service country connectors make this possible by replacing manual credential exchange with a guided interface tailored to each country’s regulatory requirements. In Hungary and Poland, this structured approach improves efficiency and reduces errors, while in Romania, it provides added automation to further simplify onboarding and faster integration with ANAF.
Designed to eliminate confusion and manual back-and-forth, these e-invoicing tools empower users to manage complex e-invoicing mandates confidently and independently. By delivering country-specific clarity and streamlined setup processes, ecosio helps businesses minimise risk, adapt quickly to evolving regulations, and focus on what matters most – achieving full e-invoicing compliance with speed and precision.
Why this matters
The difference between a well-implemented e-invoicing connector and a flawed one isn’t just technical – it’s strategic.
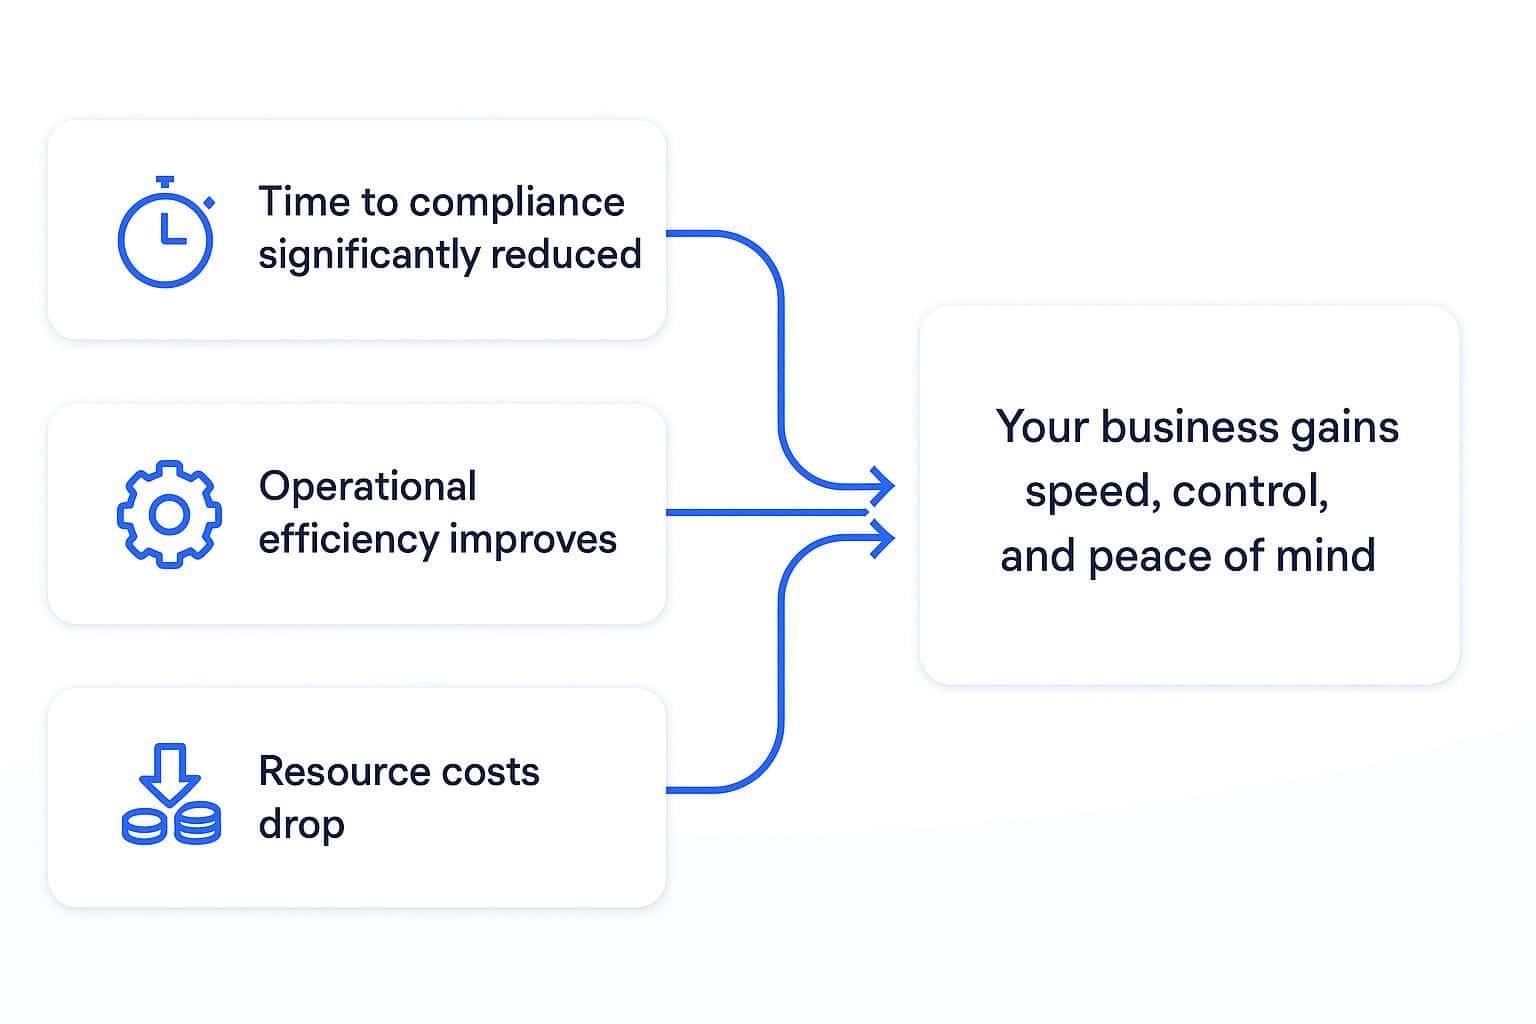
With ecosio’s approach:
- Time to compliance is shortened, helping you avoid regulatory penalties.
- Operational efficiency improves, as teams waste less time troubleshooting and reworking failed connection implementation.
- Resource costs drop, reducing reliance on external service providers or overburdened internal teams.
Ultimately, your business gains speed, control, and peace of mind.
How to use self-service connectors in the ecosio Monitor
Setting up a supported protocol connector with ecosio Monitor is now a guided, intuitive process. Here’s how it works:
- Request the connector to be added to your ecosio Monitor instance: Contact the ecosio’s Onboarding and Operations team and request the connector to be provisioned for your instance, accessible in the “Connectors” section of the ecosio Monitor, ready for setup.
- Navigate to “Connectors”: Log in to ecosio Monitor and go to the “Connectors” section.
- Choose e-invoicing connectors: Select the appropriate setup option from the dashboard.
- Country-specific guidance: Based on your onboarding flow, the platform presents tailored documentation (e.g. Romania – ANAF guide) with detailed steps.
- Follow the instructions: Utilise the step-by-step comprehensive guidance – including credential requirements, and error handling tips – to complete your connector setup successfully.
Et voilá! Your connection is set up, you’re fully compliant and ready to send e-invoices. Try it yourself with our step-by-step demo:
Limitations to keep in mind
While ecosio’s self-service solution marks a major step forward, it’s important to acknowledge its current limitations:
- Limited country availability: At present, connectors are only available for select CTC-model countries, with more to follow.
- Not universal: Countries using decentralised or post-audit models (e.g. Germany and Belgium) are currently outside the scope of self-service documentation for now.
- Focus on CTC: E-invoicing tools are most valuable where direct API integration with government platforms is required.
Even with these limitations, the solution significantly reduces friction in some of the most complex regulatory environments.
The future of e-invoicing tools and processes: unified and user-centric
ecosio’s vision doesn’t stop at today’s capabilities. The roadmap for self-service country connectors includes:
- Expanded country coverage to match evolving mandates
- Simplified technical documentation to further ease implementation
- A smarter interface that adapts based on your country, business model, and ERP environment
The end goal? A fully unified and intuitive e-invoicing setup process that anyone can navigate, no matter their role or background.
Conclusion
E-invoicing protocol connectors are complex e-invoicing tools, but a critical component of compliance. For too long, they’ve been a source of frustration for both business and technical users. With the rise of CTC models and real-time validation requirements, this challenge will only grow.
Thankfully, it doesn’t have to be this way. With ecosio’s self-service country connectors, what was once a maze of uncertainty can become a fast, guided path to success.
Want more information?
If you’d like to see how protocol connectors could transform the efficiency of your EDI processes, why not speak to one of our EDI experts? We’re always happy to help!
Der Beitrag E-invoicing Tools: How Self-Service Connectors Reduce Setup Struggles erschien zuerst auf ecosio.
]]>Der Beitrag Feature Focus: Visibility of EDI Relations Within the ecosio.monitor erschien zuerst auf ecosio.
]]>In the ecosio.monitor, these permissions are known as “EDI relations”.
How does having visibility of EDI relations benefit you?
Having a quick and easy way to see EDI partner permissions within your monitor makes partner onboarding much simpler. With access to a central overview of partner permissions, there’s no need for time-consuming back and forths between you and your EDI solution provider. You can see what permissions are active and parked, filter by several variables, and drill down into individual permissions.
Where can I find EDI relations in the ecosio.monitor?
The EDI relations page can be found by clicking the “EDI Relations” tab in the blue navigation column on the left of the monitor.
No specific permissions are required in order to access this page, though the page must be configured by ecosio’s Onboarding & Operations team during setup in order to be available.
What’s visible in the EDI relations overview page?
Once you click on the EDI relations tab in the the main navigation, you’ll see something that looks like this:

Within this view, the following information is visible…
Partners
In the left hand column you can see a list of your EDI partners (customers) sorted alphabetically.
Document type (details)
In the second column you can find the message classification type.

When you click the icon next to the document type, you’ll be sent to the message overview, where you’ll see all messages related to that EDI relation (as pictured).


In/Out
This column tells you the direction in which the respective message passed through the Integration Hub. Messages marked as “IN” are inbound, and those marked as “OUT” are outbound. This “IN/OUT” distinction is directly related to the “Company” column which is described below.
Company
If you work for a parent company, you’ll see the parent company and all sub-company EDI relations on this page.
If you work for a sub-company, you’ll see only the EDI relations for your company (plus any sub-companies your own company may have).
Status
This column shows the current status of the permission. The three possible statuses are:
- ONBOARDING: This means the permission is currently being set up. Messages cannot be sent yet.
- ALLOW: This shows the permission is active, meaning messages can be sent.
- PARKED: This indicates the permission has been stopped because you or the customer no longer want it. Messages cannot be sent to the final recipient.

Last updated
This column shows when the permission was last modified.
Services
This column shows the permission type. There are currently two permission types:
- MESSAGING: The default permission which allows users to see messages inside the ecosio.monitor.
- WEB: The permission required by your partner when they use ecosio.webedi.
What actions can be performed in the EDI relations overview page?
Inside the EDI Relations overview page there are several things you can do, including:
Searching based on partners
To do this, simply click into the search bar on the EDI relations page. A list of your EDI partners will automatically appear.
From here you can select the relevant partner or partners. Once you’ve made your selection you will be able to see all EDI relations mentioning these partners on the overview page.
Filtering results
To help make sorting and searching easier, you can filter results on the EDI relations page by the different column headings (e.g. IN/OUT, DocType and Status).
Filters can also be reset easily by simply pressing the “reset” button to the right of the “Services” filter.
Viewing EDI relations based on parent and sub-company structures
When switching back and forth between parent and sub-companies, it’s possible to view EDI relations relevant to sub-companies, as seen in the following screenshot:

Frequently asked questions
“Can I view EDI relations during testing?”
Yes! It is best practice to send test messages via your TEST instance of the ecosio.monitor during onboardings to check everything is working as it should. The EDI relations area works exactly the same in your TEST instance as in your LIVE system, and can be found in the same place.
Additionally if messages aren’t appearing in your TEST instance of the ecosio.monitor, it may be due to the fact that the permission was not configured properly or is in onboarding/parked. Thus, by checking EDI relations to see if messages can be sent between sender and receiver, you can take this to the ecosio Onboarding & Operations team to sort.
“Is there somewhere I can report issues and make suggestions?”
Yes! If you see any bugs, these can be reported via the “News & Feedback” tab in the main monitor navigation bar on the left.
Here you can also vote on features that you would like to see in the future.

“Are any updates planned?”
Yes! We’re always looking to improve our products and are planning several updates based on user feedback. The next planned updates involve improving the amount of information you can see. For example, in future you will be able to see when permissions were first created, which permissions have active users, and the last ten messages relating to a certain permission. Plus users will also have the ability to download filterable CSVs of specific EDI relations.
Watch this space!
Der Beitrag Feature Focus: Visibility of EDI Relations Within the ecosio.monitor erschien zuerst auf ecosio.
]]>Der Beitrag Feature Focus: Managing ERP Partner Users in the ecosio.monitor erschien zuerst auf ecosio.
]]>For a comprehensive list of the key features of the ecosio.monitor, please visit the ecosio.monitor features page.
What does the ecosio.monitor ERP partner feature do?
The ERP partner feature within the ecosio.monitor allows you to add an ERP customiser that doesn’t belong to your organisation and provide them with access to your monitor. Plus, access can be time-limited, allowing you to grant your customiser access during connection setup, for example, and revoke it after this is finished (see below for more details).
Depending on your company setup, it may be that you are responsible for EDI operations in your organisation, while your ERP customiser supports you with error resolution and setting up new EDI relations. If this is the case for you, the ecosio.monitor’s ERP partner feature can become a crucial cog in your EDI machinery.
How does ERP partners having access to your monitor benefit you?
One of the most time-consuming elements of EDI projects is the communication between different parties regarding various EDI operations and who is responsible for what. By allowing you to give relevant partners direct access to your monitor, the ERP partner management feature of the ecosio.monitor aims to streamline onboardings and simplify previously convoluted processes.
For example, within the ecosio.monitor ERP partner users can…
- Manage API credentials
- Resend messages during testing
- Takeover onboarding tasks if necessary
- View the content of individual messages
- Respond to tickets
- Explore errors
Five key things to remember…
- An ERP partner relation must be set up by ecosio’s Onboarding & Operations team first. Without this prior setup, the ERP partner feature cannot be used.
- ERP partner users must have the necessary permissions in order to accomplish the relevant tasks inside your instance of the ecosio.monitor
- When onboarding an ERP partner user, it is best practice to start with the test instance of the ecosio.monitor. This way there’s no danger that live data will be affected.
- After completing the onboarding project, you should decide if your ERP partner user should still have access to your ecosio.monitor. As an Admin user, you have the authority to revoke the partner user’s access.
- There is no need for ERP partner users to have access to your system during onboarding if this is not wanted. Some users prefer ERP partner users to have access only after setup is complete.
How to manage ERP partners within the ecosio.monitor
The following step-by-step guide applies to both TEST and PROD environments.
1) Adding a new user
Once the partner relation has been set up by ecosio’s Onboarding & Operations team, you can add partner users in the “Company” settings, under the “Partner” tab.

2) Adjusting permissions
Once they have been added, make sure to check that they have the correct permissions.

3) Providing visibility for your ERP partner
Once you have assigned your ERP partner users, they can switch their views to be able to have access to your ecosio.monitor instance.

Your ERP user will have to select the customer as well:

From there, your ERP customiser user will now have access to your ecosio.monitor instance:

4) Revoking user access
As well as adding new users, you can also easily revoke access to ERP partner users and remove certain permissions as required. To do so, all you need to do is edit the partner user and uncheck the appropriate boxes or delete the user completely.

Frequently asked questions
What is an “ERP customiser”?
In ecosio lingo, an ERP customiser is in charge of supporting a customer in relevant ERP tasks in the context of an EDI project.
What actions can ERP customisers perform in the ecosio.monitor?
Depending on the nature of your project (and assuming they have been given the relevant permissions), your ERP customiser(s) can do a number of things within your instance of the ecosio.monitor. The most common actions performed by ERP customisers include…
- Debugging messages in an “Exception” state
- Re-sending messages
- “Handling” messages (marking them as cleared)
- Managing connector settings
Once access is granted to an ERP partner user, can they also access all sub-company information in the ecosio.monitor?
If an ERP partner user is established for the parent company in the ecosio.monitor, they will automatically have access to all sub-companies monitoring information they’re assigned to (visibility depends on permission rights as well).
Der Beitrag Feature Focus: Managing ERP Partner Users in the ecosio.monitor erschien zuerst auf ecosio.
]]>Der Beitrag Feature Focus: Messaging Operations in the ecosio.monitor erschien zuerst auf ecosio.
]]>One of the monitor’s most important jobs is to make EDI information as transparent and accessible as possible. In order to do this, the ecosio.monitor enables you to view both a high level summary of all EDI messages and granular message details.
In this article we break down the message overview and message details features, exploring what exactly they allow users to do and how they can help improve B2B integration processes.
For a comprehensive list of the key features of the ecosio.monitor, please visit our dedicated ecosio.monitor features page.
Jump to section:
Message overview in the ecosio.monitor
- Where can you find the message overview?
- Visibility in the message overview
- What actions are possible via the overview page?
Message details in the ecosio.monitor
- Where can you find message details?
- Visibility in the message details view
- What actions are possible in message details?
Message overview in the ecosio.monitor
In short, the ecosio.monitor message overview allows you to see all messages and documents which have been sent and/or received via the ecosio cloud-based EDI solution (our Integration Hub).
Additionally, within the “Messages” tab you can resolve issues fast easily via several quick actions.
Where can you find the message overview?
The message overview can be found by clicking the “Messages” tab in the left column of the monitor (as pictured below).

Visibility in the message overview
Customising your display
To ensure your message overview is as useful as possible, it’s possible to choose which columns you’d like to view and which you wouldn’t. Potential column categories you can choose from include:
- Status – The current state of the message
- Last change – The time the message was last changed
- Sender – The entity sending the message
- Receiver – The entity receiving the message
- Message type – The type of transaction e.g. ORDERS, DESADV, INVOIC, etc.
- Document count – The number of documents contained within the message
- In/Out – Whether the message is being sent or received
- Message reference – Unique identifier of the identified message
- Document numbers – The invoice number(s) of an invoice contained in a message or interchange
- Application reference – Unique identifier for EDIFACT document types only (part of the UNB segment)
Searching for messages
Arguably the most useful feature of the message overview is the powerful full-text search functionality. This allows you to search using any relevant identifier (e.g. file name, sender/receiver, message ID, connector type etc.), making it remarkably easy to locate messages. Plus, the search also allows for the use of AND/OR/NOT commands, and will even return results for partial words.
Filtering and sorting
Another handy feature within the message overview is the filter bar, which allows you to filter by the date messages were sent/received, as well as by message state, message direction (inbound/outbound) and message type.

Messages can then also be sorted according to timestamp of last change, message type, message reference or document count.
Viewing additional company information
When needed, you can access more information related to the message sender/receiver (e.g. company ID) by clicking on “Company Name”, as shown below:

What actions are possible via the overview page?
Downloading messages
Messages can be downloaded in batch via the overview page. To do this you simply select the relevant entries and click “download messages”. Once downloaded, the messages can be found in the “Downloads” tab for archiving purposes.

Each downloaded message contains the message in multiple states: as it was received on the hub, as it was sent out, and (if applicable) signed.
To make the archiving process easier, it is possible to configure the folder structure and file names, plus there is also the option to include received message acknowledgements if desired.

Quick downloads
In addition to the main download functionality, there is also a “quick download” option. Essentially this works the same way as the main download functionality, but doesn’t allow for either the inclusion of received acknowledgements or for users to configure folder structure and file names when downloading.
To make the archiving process easier, it is possible to configure the folder structure and file names, plus there is also the option to include received message acknowledgements if desired.

Downloading EDI documents as a .zip file
For those who need it, messages can be downloaded as .zip files – though this functionality is only possible for one message at a time.

Editing and resending messages
Another extremely useful feature in the messages overview is the capacity to edit and resend messages, as this allows for quick and easy correction of any errors that may have resulted in message failure. All users need to do is click on the “resend” icon and then the “edit message” toggle (as pictured).

To avoid accidentally introducing new errors through manual input, this feature should be used when necessary, however (e.g. if required to avoid being billed erroneously).
Given the dangers of manually editing EDI messages, the accessibility of this feature can be controlled with permissions to ensure it’s only available to those with sufficient EDI expertise.
Message details in the ecosio.monitor
In the event that you require more information about an individual message, you can access this by accessing the message details section. This area allows you to resolve issues quickly and with minimum fuss by enabling you to drill deep down into your EDI messages and perform several additional actions.
Where can you find message details?
Message details can be found by clicking on the blue arrow in the “Details” column in the message overview next to the relevant EDI message (as pictured below).

Visibility in the message details view
Message details is where you can access the most granular information relating to a particular EDI message. Within message details, you can view:
- Message status – See in real time when a message has been queued, delivered, received etc.
- Status changes – See exactly when a specific message’s status changed in the Integration Hub
- Message content – View the specific content of the message
- Validation details – See whether or not a message has been validated
- EDI files – View any additional files (such as technical drawings) that were sent alongside EDI messages
- Integration Hub history – View message details for every previous message state across different phases (not just the latest message in an exchange)
What actions are possible in message details?
In addition to being able to view granular message details (as outlined above), the message details section also allows users to complete various actions, including…
- Handling messages – With direct access to individual EDI messages, users can address issues, correct errors, and ensure the smooth flow of data exchange between trading partners
- Resending messages – In the case of message delivery failures (e.g. due to network issues or transmission errors), individual messages can be resent easily from within the monitor
- Downloading messages – Via the Integration Hub history users can download messages in all previous states
- Editing messages – To enable internal experts to fix small issues quickly, the ecosio.monitor allows individuals with the necessary rights to edit messages directly
Interested in integrating the ecosio.monitor with other ecosio products?
For more information on how the ecosio.monitor can be integrated with our other products, such as ecosio.webedi and ecosio.invoicing, contact us today. We’d love to help you optimise your solutions and achieve maximum efficiency with minimum effort.
Der Beitrag Feature Focus: Messaging Operations in the ecosio.monitor erschien zuerst auf ecosio.
]]>